Build Your Own Mini-ITX Media Player
Computers are not everybody's cup of tea, right now you may be apprehensive with everything and anything about them. The first thoughts people associate with computers are they are complex to assemble, and complicated to use.
Not so! This chapter will demonstrate just how easy it is to build your own computer, using just a few simple parts:
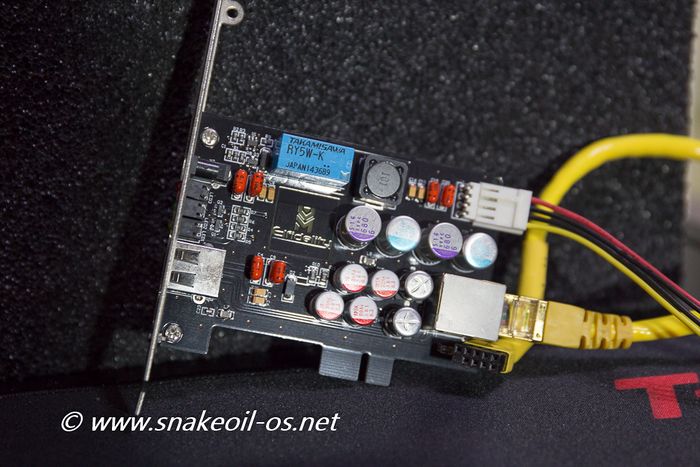
- USB Filter (I'm using a passive Elfidility filter, but you can choose another solution, e.g. SoTM PCIe)
- A integrated Mini-ITX board
- RAM
- Storage (Using CFast card here, but you can use an SSD)
- PC Case
Computer Case
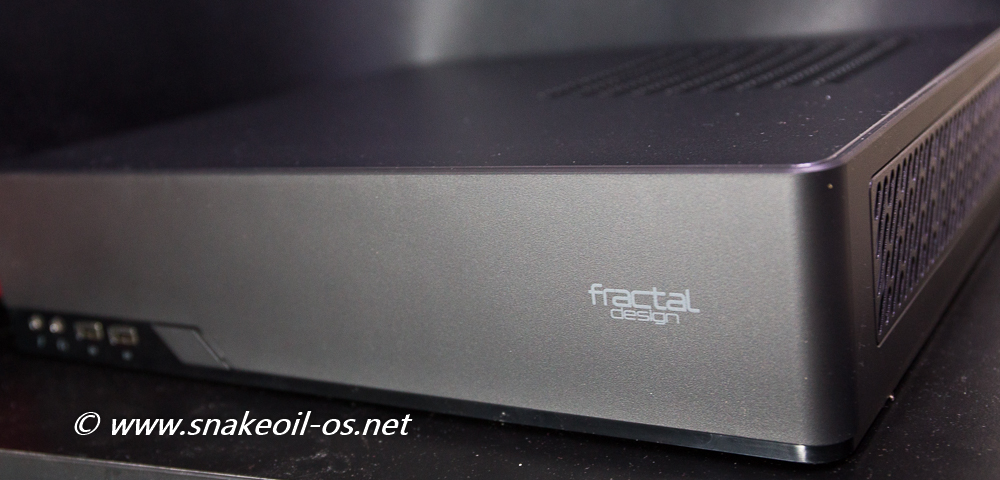
The case I'm using for this build is the Fractal Design Node 202. This is a affordable case priced at AUD$135, and it wins on it's slim profile. This case is very simple to work on, and have adequate space and ventilation should you decide to put your PSU inside.
While this case does not sport the traditional Hifi equipment look, at least it will not look out of place in your hi-fi rack.
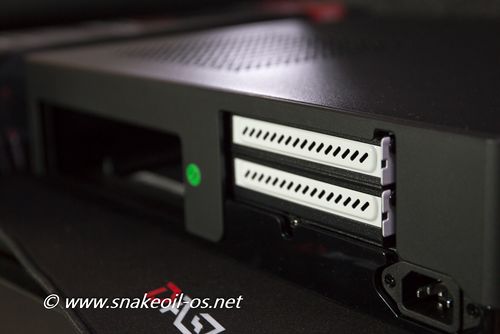
This is how it looks from the back. Although Mini-ITX only provides 1 PCI o PCIe slot, these two PCI brackets gives you good flexibility. e.g. I can use a mPCIe riser and add a second I/O. Two is always better than one.
Some important things to note with this case:
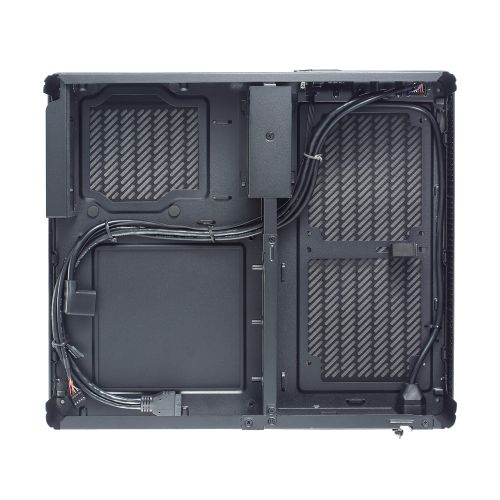
- ONLY works with Mini-ITX boards (lower left hand corner). Other motherboard sizes will not fit.
- If you are going to use a computer ATX power support, this case ONLY supports the SFX standard.
- This is a slimline case, meaning you'd need PCI or PCIe risers to re-orient the cards. Fractal Design includes a PCIe riser for this purpose. For PCI risers you can try sourcing them from various online vendors like alibaba, taobao or ebay.
There is plenty of space to work in despite the size. Fitting the Mini-ITX motherboard to this case took less than 5 minutes. Fractal Design took a lot of effort in their instruction manual - it's very IKEA like! Wonder if all Swedish companies write their manuals this way.
Mini-ITX Motherboard
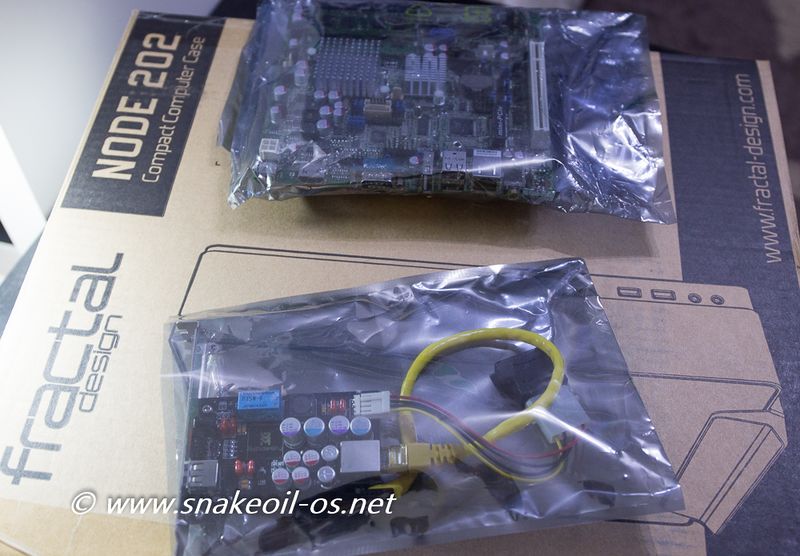
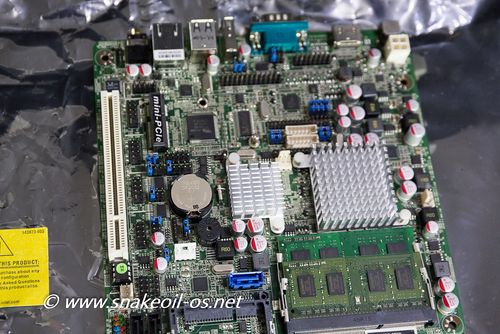
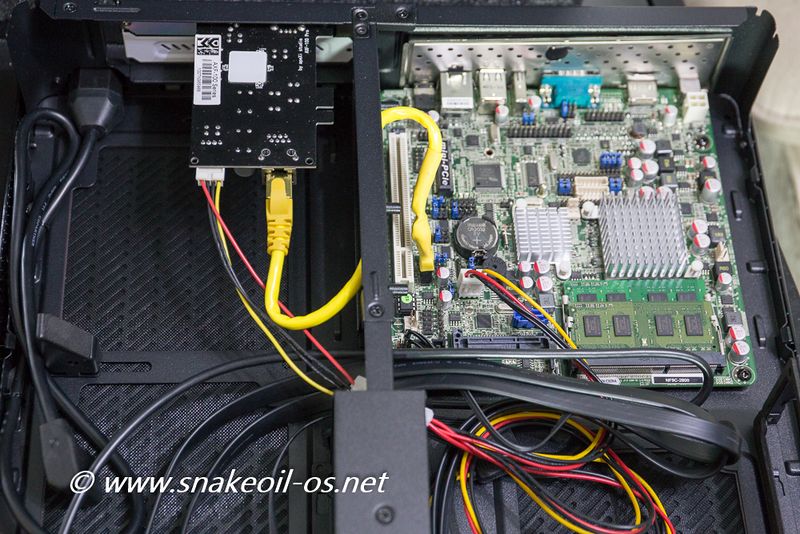
Most computers are hard! There is a small sub-class of computers that are very easy - the "All-In-One" type, with the CPU already soldered in to the board. This is the board I'm using - a Jetway NF9C-2800. The only thing I need to do in this step is to fit the two RAM sticks. This is a straightforward procedure as the component only fits one way.
All in one motherboards like this are as good as it gets. You do not have to mess around with fragile processor, heat sinks that needs a PhD to fit, or the science of spreading thermal compounds. These computers are purchased 'ready-to-go' mode, just add RAM!
Elfidility USB Filter
This is the passive USB filter. The main reason for using this is it's a lot cheaper than a after market PCI/PCI-e USB card.
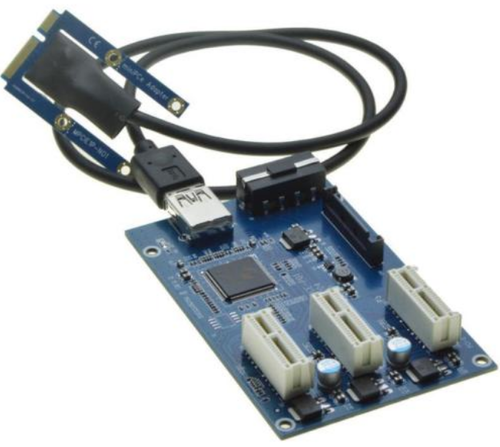
You do get what you pay for, and your mileage will vary depend on your system setup. There are also other after market USB cards with the PCI-e interface. You may think you can't use these cards with a motherboard armed with a PCI slot (like the NF9C).That's incorrect. You can purchase a mini-PCIe riser like this:
This product is ideal because there should be enough bandwidth in the mini PCIe bus to run two devices - a USB card (~60 MB/s) and an Intel NIC (~125 MB/s)
Storage
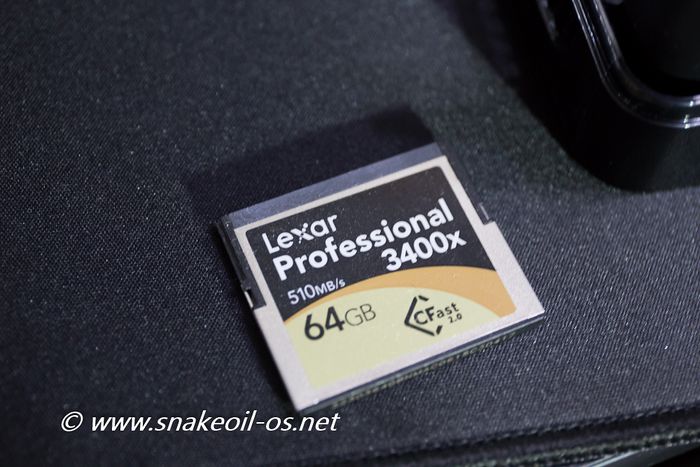
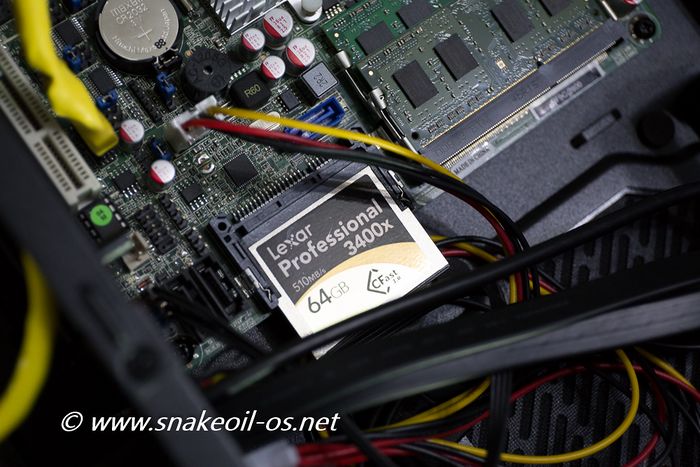
This is a CFast card. It has the I/O speeds of SATA but comes in a small form factor. Due to its price very few motherboards use this now. The advantage of CFast again lies in simplicity - no messy SATA data and power cables.
This card simply slot into the motherboard, giving me the shortest and most direct signal point to point path.
Installation
There are only four screws to secure the Mini-ITX to the motherboard (at the corners). Computers may appear complicated to the layperson, but everything only fits one way. Assembling computers is like a jigsaw puzzle, everything only fits 'one way'. All you need to do is read the motherboard manual to understand where everything goes, and that's it. As shown in this picture below:
Choice Of Components
It may seem hard to believe - the components you chose WILL affect the sound. The Jetway NF9C 2800, paired with the Elfidility USB card, and powered by a UpTone JS2 combined gives what audiophiles would describe as a warm sound. The overall presentation is rich in timbre and tones. The surround sound effect is good with a decent depth in the front stage. The cons of this combination is less than ideal clarity, lower frequency bass has a nice tone but lacks punch. This system is setup for acoustic music, primarily focusing on timbre and the human voice - an ideal system if you are listening to music for long hours (e.g. 3+ hours per session). Thanks to the flexibility of Snakeoil OS, you can use MPD for critical listening, or switch to Logitech+Squeezelite for some relaxation. The above components are chosen to suit my specific needs. This chapter only describes the general steps on how to assemble your own computer. You have to choose your own computer parts based on the genre of music, listening habits, and your audio system. The better you know yourself, the better you'd get at this. Physical assembly of the computer is now complete. We are now ready to install Snakeoil OS!
